
Chapters
- Contents1
- Description and Specifications3
- Chapter 1 - Engine8
- Data8
- Accessory removal9
- Engine disassembly10
- Crankshaft and flywheel14
- Cylinder block16
- Pistons and connecting rods21
- Camshaft and valve mechanism26
- Cylinder head and front cover30
- Oil pump30
- Water pump32
- Governor34
- Oil pan, intake and exhaust manifolds38
- Assembly of engine40
- Installation of accessories46
- Definition of fits48
- Fits and tolerances50
- Torque wrench readings51
- Carburetor52
- Servicing the starter58
- Chapter 2 - Transmission61
- Chapter 3 - Power Take-Off71
- Chapter 4 - Belt Pulley75
- Chapter 5 - Rear Axle79
- Chapter 6 - Hydraulic System89
- Chapter 7 - Steering Gear101
- Chapter 8 - Service Bulletins111
- Bulletin Attachments126
Chapter 1 - Engine
Assembly of engine page 40
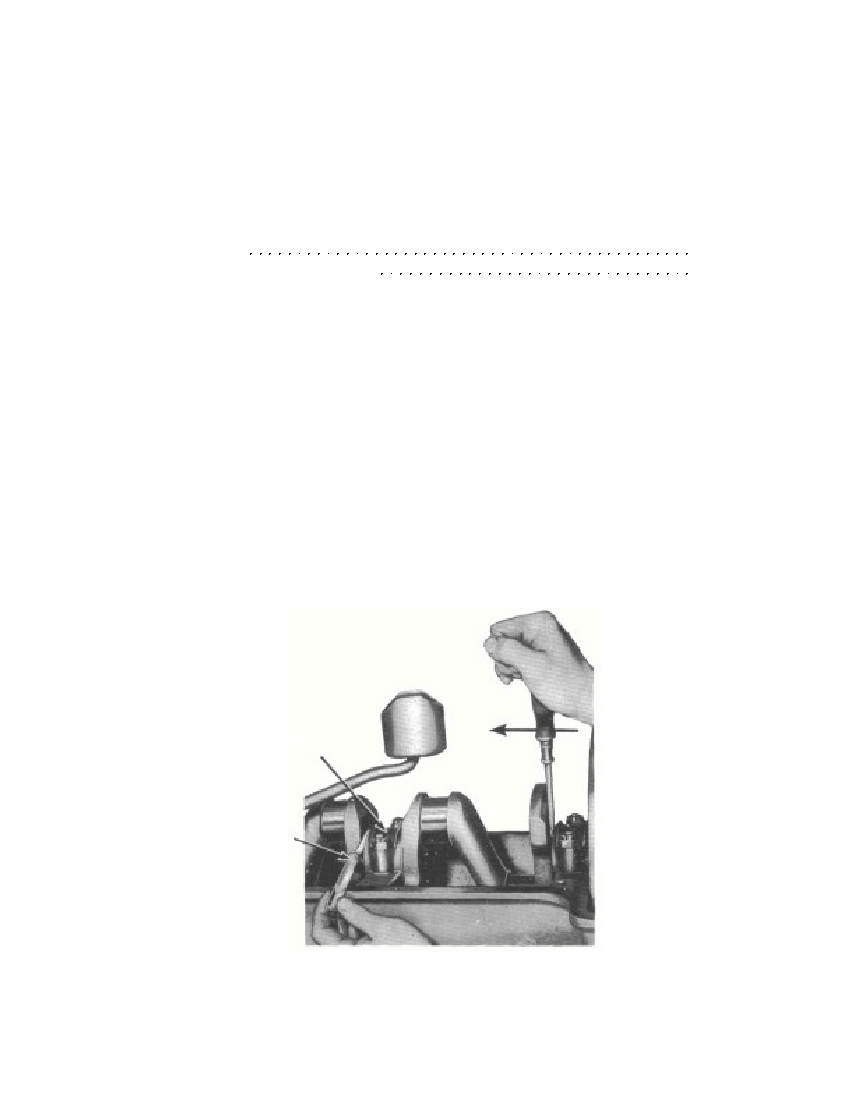 ASSEMBLY OF ENGINESectionAssembly131Installation of Accessories132131. ASSEMBLY.Before assembling the component parts of the engine, make surethat each part is in a satisfactory condition for use (Chapter II).a. Install Crankshaft. Install the three upper halves of themain bearing inserts in the cylinder block. Install the three lowerhalves of the main bearing inserts in the two main bearing caps andoil pump body. Coat the main bearing inserts with a light film of oil.Install the crankshaft rear bearing oil seal retainer and seal in therear of the cylinder block. Place the crankshaft in the cylinder block,and install the main bearing caps and oil pump body on the cylinderblock. Install the main bearing cap nuts or self-locking nuts andtighten them from 80 to 90 pounds-feet if using self-locking nuts.Tighten from 75 to 80 pounds-feet if using castellated nuts. Pry thecrankshaft forward and insert a feeler gauge as shown in Fig. 46.Fig. 46—Measuring Crankshaft End Play§ 131. a.3695-4740CENTER MAINBEARING CAPThickness GaugeRM-586
Free to read online. Contents · Where is the serial number on a 9N, 2N or 8N?