
Chapters
- Contents1
- Description and Specifications3
- Chapter 1 - Engine8
- Data8
- Accessory removal9
- Engine disassembly10
- Crankshaft and flywheel14
- Cylinder block16
- Pistons and connecting rods21
- Camshaft and valve mechanism26
- Cylinder head and front cover30
- Oil pump30
- Water pump32
- Governor34
- Oil pan, intake and exhaust manifolds38
- Assembly of engine40
- Installation of accessories46
- Definition of fits48
- Fits and tolerances50
- Torque wrench readings51
- Carburetor52
- Servicing the starter58
- Chapter 2 - Transmission61
- Chapter 3 - Power Take-Off71
- Chapter 4 - Belt Pulley75
- Chapter 5 - Rear Axle79
- Chapter 6 - Hydraulic System89
- Chapter 7 - Steering Gear101
- Chapter 8 - Service Bulletins111
- Bulletin Attachments126
Chapter 1 - Engine
Oil pan, intake and exhaust manifolds page 38
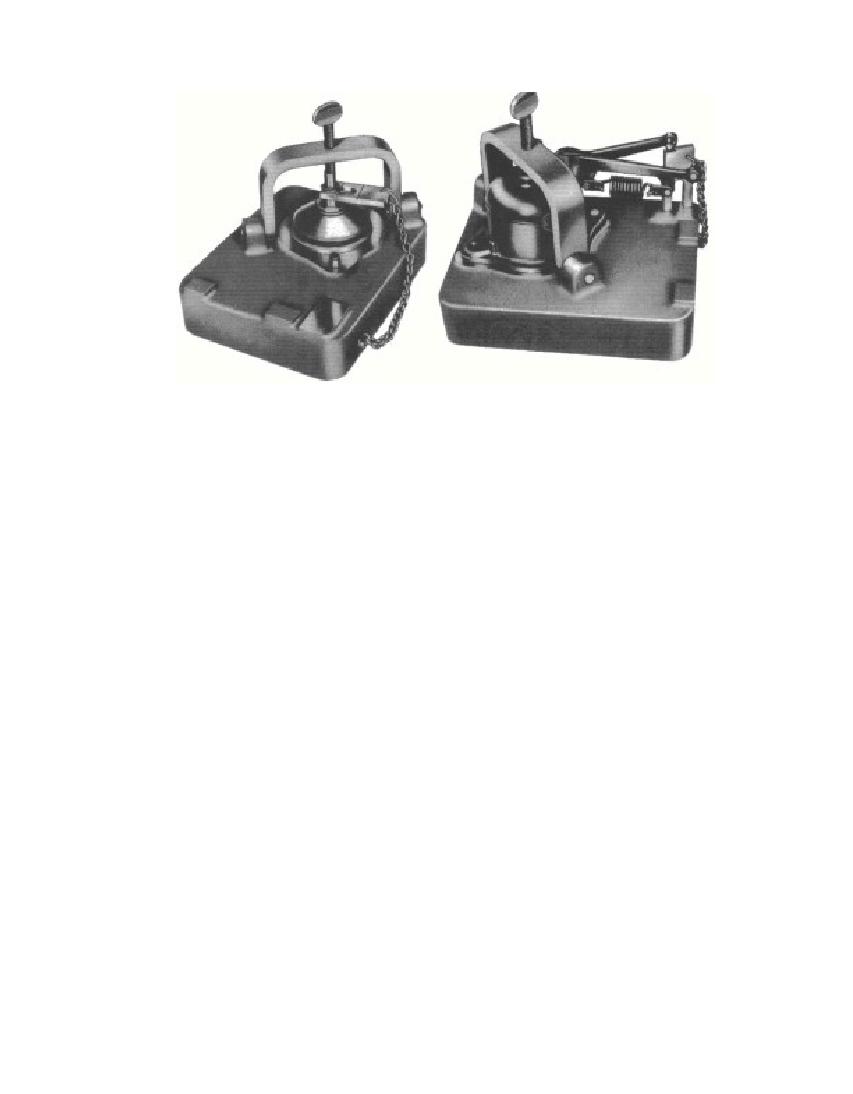 Fig. 42—Measuring ClearanceBetween Washer andFork BaseFig. 43—"Go" and "No Go" GaugeInserted Behind GovernorLeveror remove the 0.010 inch spacers as required until the correctclearance is established.To install the drive shaft assembly in the body, install the leverand fork in the body, securing it with a grooved pin. Position thedrive shaft assembly in the body, and install the governor bodyscrew in the body.To check the governor arm adjustment, install the governor onthe governor setting gauge, and tighten the wing nut on the gaugefinger tight. Hold the governor lever in the wide open position, andinsert the "GO" and "NO GO" gauge as shown in fig. 43. If thegauge cannot be inserted, the clearance is insufficient and must beadjusted. If only the first step can be inserted, the clearance issatisfactory. If the second step can be inserted, the clearance isexcessive and must be adjusted.If the clearance is either insufficient or excessive, lay the governorarm across the bosses on the gauge (figs. 44 and 45). Strike the centerof the governor arm with a light hammer. Recheck the arm adjust-ment.129. OIL PAN, INTAKE AND EXHAUST MANIFOLDS.Clean the oil pan thoroughly. Replace an oil pan that has strippedthreads in the drain plug hole, or one that is badly dented, distorted,or cracked. Replace the oil pan drain plug and oil pump screen ifdamaged.§ 129.3695-4738RM-629RM-630
Free to read online. Contents · Where is the serial number on a 9N, 2N or 8N?