
Chapters
- Contents1
- Description and Specifications3
- Chapter 1 - Engine8
- Data8
- Accessory removal9
- Engine disassembly10
- Crankshaft and flywheel14
- Cylinder block16
- Pistons and connecting rods21
- Camshaft and valve mechanism26
- Cylinder head and front cover30
- Oil pump30
- Water pump32
- Governor34
- Oil pan, intake and exhaust manifolds38
- Assembly of engine40
- Installation of accessories46
- Definition of fits48
- Fits and tolerances50
- Torque wrench readings51
- Carburetor52
- Servicing the starter58
- Chapter 2 - Transmission61
- Chapter 3 - Power Take-Off71
- Chapter 4 - Belt Pulley75
- Chapter 5 - Rear Axle79
- Chapter 6 - Hydraulic System89
- Chapter 7 - Steering Gear101
- Chapter 8 - Service Bulletins111
- Bulletin Attachments126
Chapter 1 - Engine
Engine disassembly page 10
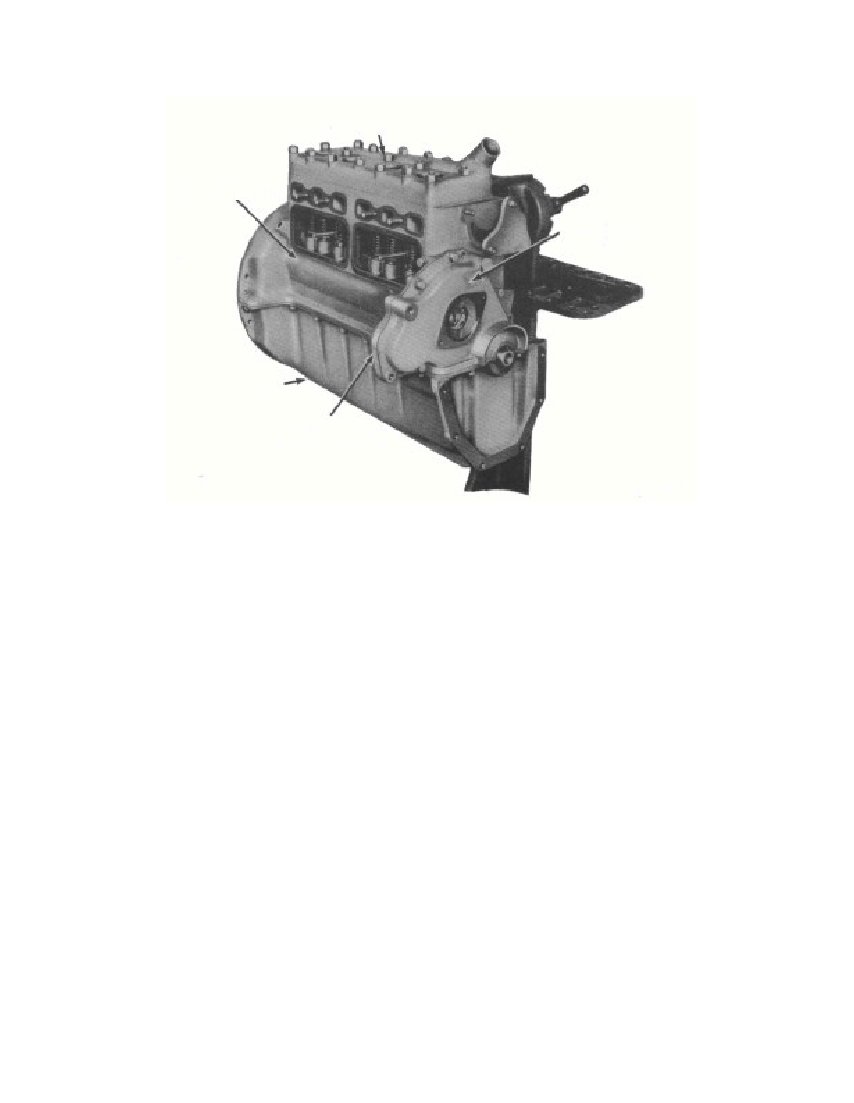 Fig. 3—Stripped Enginedistributor to the cylinder front cover. Remove the distributor andwires.d. Remove Carburetor. Remove the two nuts and lock washersthat secure the carburetor to the intake manifold. Remove thecarburetor (fig. 2).e. Remove Starting Motor. Loosen the two starting motorcap screws until the starting motor is free of the clutch housing. Liftthe starting motor from the engine (fig. 1).113. ENGINE DISASSEMBLY.This section contains instructions for the complete disassemblyof the stripped engine.a. Remove Intake and Exhaust Manifolds. Remove the nutsand washers that secure the intake and exhaust manifolds to thecylinder block. Lift the manifolds off the cylinder block as anassembly (fig. 2).b. Remove Water Pump. Remove the cap screw and nutswhich secure the water pump to the cylinder block. Lift the waterpump from the cylinder block.§ 113. b.3695-4710CYLINDER HEAD-6050CYLINDERBLOCK- 6010CYLINDER FRONTCOVER-6019OIL PAN—6675TIMING GEARSIDE COVER-6017RM-503
Free to read online. Contents · Where is the serial number on a 9N, 2N or 8N?