
Chapters
- Contents1
- Description and Specifications3
- Chapter 1 - Engine8
- Data8
- Accessory removal9
- Engine disassembly10
- Crankshaft and flywheel14
- Cylinder block16
- Pistons and connecting rods21
- Camshaft and valve mechanism26
- Cylinder head and front cover30
- Oil pump30
- Water pump32
- Governor34
- Oil pan, intake and exhaust manifolds38
- Assembly of engine40
- Installation of accessories46
- Definition of fits48
- Fits and tolerances50
- Torque wrench readings51
- Carburetor52
- Servicing the starter58
- Chapter 2 - Transmission61
- Chapter 3 - Power Take-Off71
- Chapter 4 - Belt Pulley75
- Chapter 5 - Rear Axle79
- Chapter 6 - Hydraulic System89
- Chapter 7 - Steering Gear101
- Chapter 8 - Service Bulletins111
- Bulletin Attachments126
Chapter 1 - Engine
Engine disassembly page 12
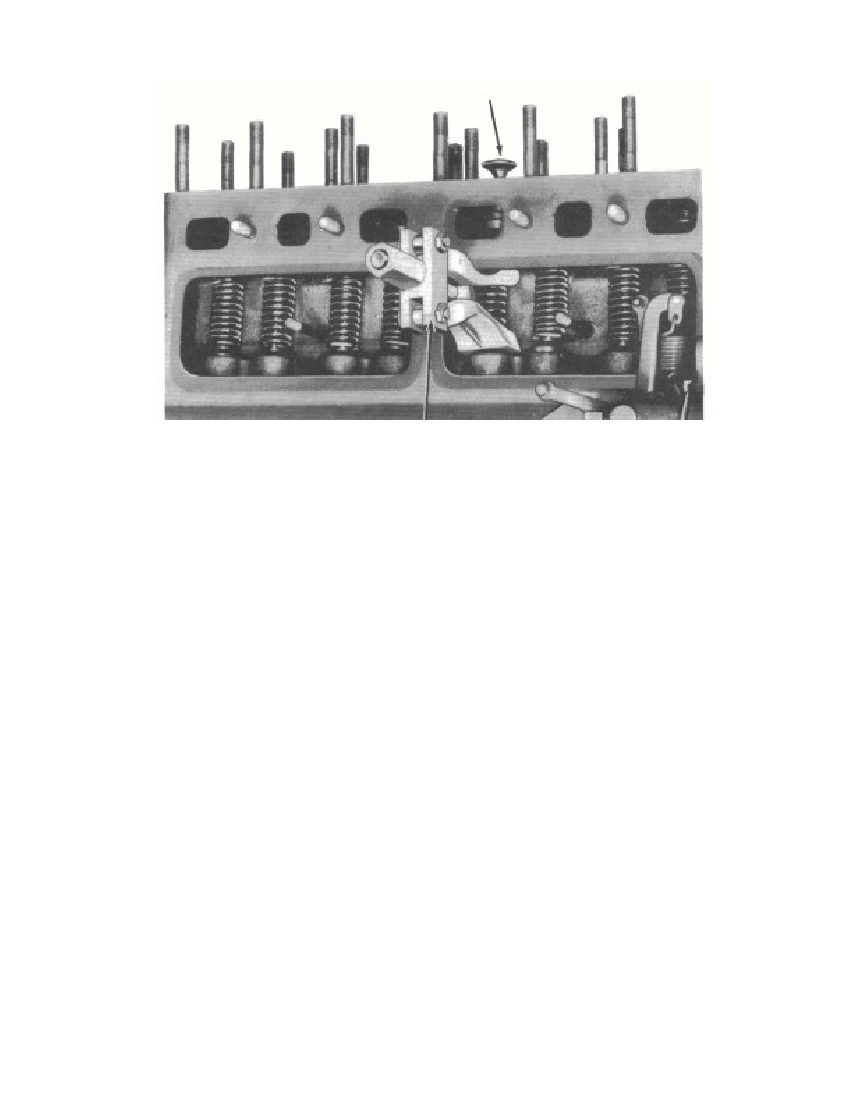 Fig. 5—Removing Valve Assemblya jack-type lifter (fig. 5). As the valves are removed, tag or otherwiseidentify them as to the cylinders from which they were removed.Lift the push rods from the cylinder block. Slide the camshaft outof the cylinder block, being careful not to injure the camshaftbearing surface with the sharp corners of the cams.g. Remove Oil Pump and Oil Pump Screen Cover As-sembly. Remove the cap screws that secure the oil pan to the cyl-inder block, and remove the oil pan. Remove the lock wires and capscrews that secure the oil pump screen cover assembly to the oilpump (fig. 6). Remove the oil pump screen cover assembly fromthe engine.h. Remove Connecting Rod and Piston Assemblies. Re-move the two nuts from No. 1 connecting rod. Lift the connectingrod bearing cap from the connecting rod. Tap the connecting rodand piston out of the cylinder block with the handle end of a hammer(fig. 7). Install the connecting rod bearing cap on the connecting rodto prevent the bearing inserts from becoming mixed. Repeat theabove procedure to remove the remaining connecting rod and pistonassemblies.§ 113. h.3695-4712VALVE ASSEMBLYJack-type LifterRM-651
Free to read online. Contents · Where is the serial number on a 9N, 2N or 8N?