
Chapters
- Contents1
- Description and Specifications3
- Chapter 1 - Engine8
- Data8
- Accessory removal9
- Engine disassembly10
- Crankshaft and flywheel14
- Cylinder block16
- Pistons and connecting rods21
- Camshaft and valve mechanism26
- Cylinder head and front cover30
- Oil pump30
- Water pump32
- Governor34
- Oil pan, intake and exhaust manifolds38
- Assembly of engine40
- Installation of accessories46
- Definition of fits48
- Fits and tolerances50
- Torque wrench readings51
- Carburetor52
- Servicing the starter58
- Chapter 2 - Transmission61
- Chapter 3 - Power Take-Off71
- Chapter 4 - Belt Pulley75
- Chapter 5 - Rear Axle79
- Chapter 6 - Hydraulic System89
- Chapter 7 - Steering Gear101
- Chapter 8 - Service Bulletins111
- Bulletin Attachments126
Chapter 1 - Engine
Engine disassembly page 11
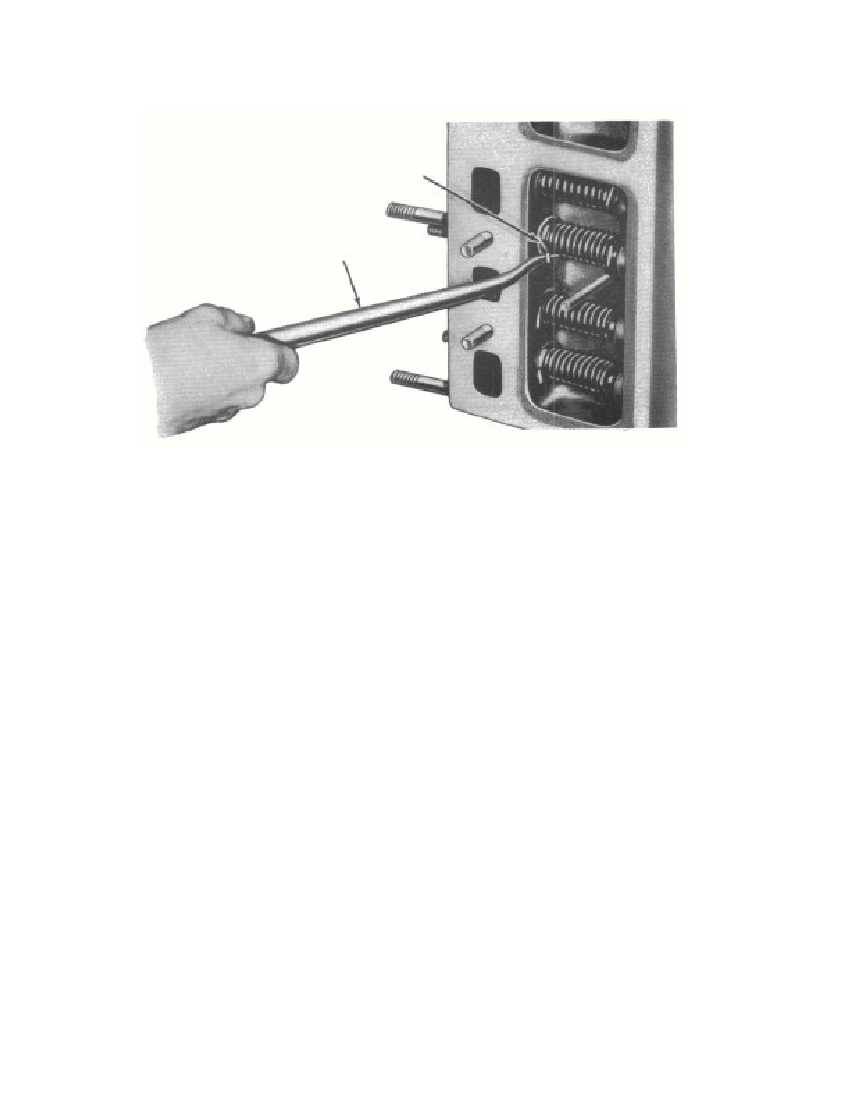 Fig. 4—Removing Valve Guide Bushing Retainerc. Remove Clutch Disk. Press in on the clutch release levers,and install three wood wedges between the clutch release levers andpressure plate cover (fig. 48). Remove the six pressure plate capscrews, pressure plate, and clutch disk.d. Remove Flywheel. Remove the lock wire from the fourflywheel cap screws. Remove the four flywheel cap screws and dowelretainer. Tap the flywheel off the dowel pins with a rawhide hammer.Lift the flywheel out of the clutch housing.e. Remove Cylinder Head. Remove all the nuts that hold thehead to the cylinder block. Remove the cylinder head and gasket(fig. 3).f. Remove Valve Assemblies and Camshaft. Remove thecylinder front cover (fig. 3) from the cylinder block. Remove thenut and flat washer from each valve chamber cover. Remove thevalve guide bushing retainer with a hook-type remover (fig. 4)from all valves that are in the closed position. Turn the crankshaftuntil those valves which were in an open position are closed. Repeatthe above procedure, and remove the remaining valve guide bushingretainers. Remove the valve assemblies from the cylinder block with3695-47§113. I.11VALVE GUIDE BUSHING RETAINER.Hook-type RemoverRM-635
Free to read online. Contents · Where is the serial number on a 9N, 2N or 8N?